Logos are a big part of working in InDesign, and this InDesign tutorial aims to show you how you can best work with them. All graphic designers have to work with logos at some point, usually very often, and that’s why it’s useful to get an idea for how to work with them in InDesign. This InDesign tutorial will teach you how to do something that you’ll most likely have to do quite a few times in your career: adapt a logo.
Clients often choose to use old or generic logos and adapt them to their needs when the time comes for making a logo. Most people don’t want to spend a whole bunch of money to get their branding done properly, and so sample logos found online or old logos that they can reuse are their first choice. It becomes the job of the designer to adapt these logos, and unless you know how, it can be a headache. So what do you do when that situation arises?
Adapting Logos Directly In InDesign
Some logos can be adapted directly in the program. A logo like the sample below will be easy to adapt because the space between the art and the text is clearly defined.
1. Import your logo into the program. Make sure that the client has given you all the fonts necessary to work in the logo. Any text that they want changed, they either have to provide the fonts themselves of else approve a substitute that you offer them.
Step 1

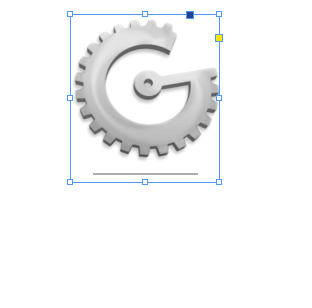
2. Resize the logo’s bounding box so that the text is cropped out.
Step 2

3. Create a text box centering just below what remains in the logo. Put the new text there.
Step 3

4. Export the completed logo as an .eps file.
Adapting Logos in the Original Program
The above process is about as far as you can take logo adaptation in InDesign. If you need to change more than just the text, or if the text is too complicated to crop out easily, you’ll want to take it over to the original program it was created in.
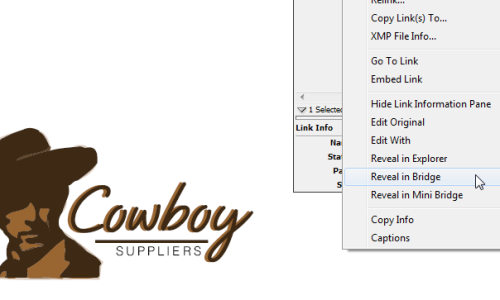
1. To open the file in Adobe Bridge, right click the file in the Links Panel and select Reveal in Bridge.
Step 4

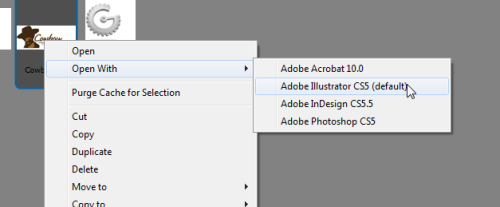
2. In Bridge, right-click the file. Select Open With, then whatever program has been set as default.
Step 5

You can now edit the file from where it was created—usually Adobe Illustrator.
If you don’t have Illustrator, you can use Bridge to select another program that you want to edit the logo with. This might be Quark Xpress or another similar program.
Once the file is editing, you can save the changes, then relink the file in InDesign to update how it looks. Your new edited logo should display in the place of the old when the process is done.
This InDesign tutorial has hopefully shown you not only how you can work with Adobe InDesign, but also with its sister programs to the best effects. Using the Adobe programs all in conjunction with each other is the most effective way to get your work done.
