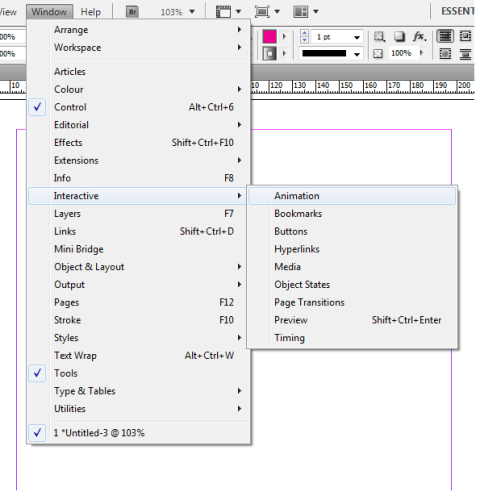
This is the second part of the InDesign tutorials on the InDesign tools palette. Go back to the first part if you haven’t already read it. For this second part, I will be going into the lower two sections of tools on the palette, which are the tools for transforming and the tools for reviewing your InDesign projects. These tools are generally less used than the others, and yet knowing about them and all they do can save you a great deal of time and wasted energy. Read on to learn more.
The Transformation Tools
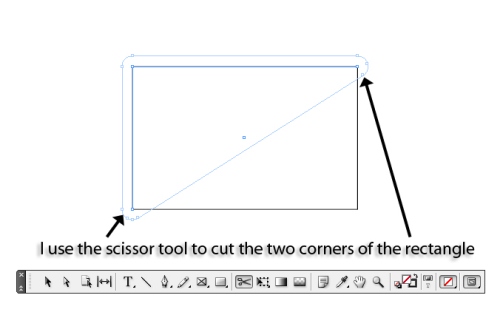
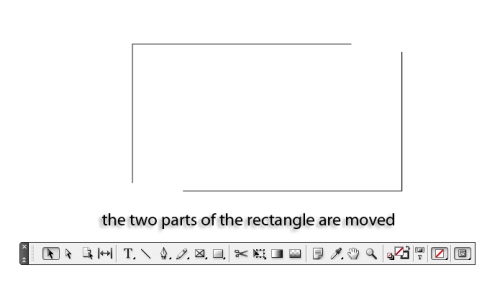
1. The scissors tool (hot key: c) is the first one in the transformation tools section. This tool is relatively straightforward, allowing you to cut a path on any point you choose. In the demonstration below I cut two of the corners of a rectangle with the scissors tool and then separated them with the selection tool.
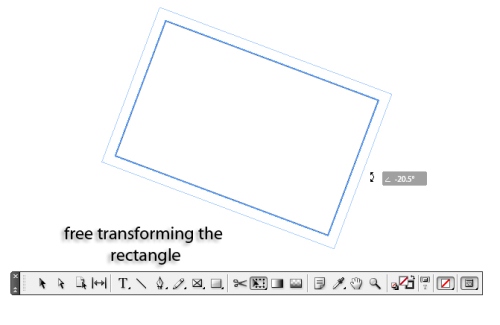
2. The free transform tool (hot key: E) is a tool that you will end up using a lot in your work, as it will allow you to scale, skew, rotate, and transform objects in any way you want. Some of the sub-tools under the free transform tool include the rotate, scale, and shear tools.
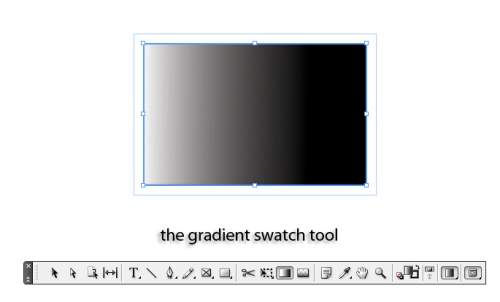
 3. The gradient swatch tool (hot key: G) allows you to apply a gradient swatch to an object. You simply click within the object and drag, and the gradient you have selected appears.
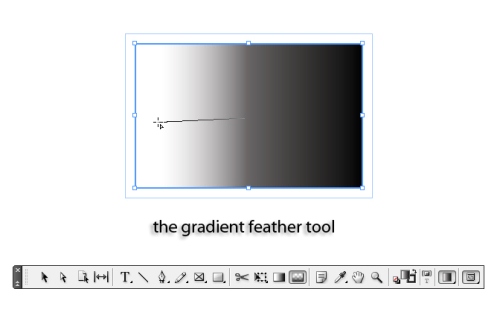
 4. The gradient feather tool (hot key: Shift + G) will let you create transparency in your gradient.
 The Review Tools
1. The note tool allows you and any editors or reviewers to place comments and note into the document. These notes do not appear in the printed or finished version of your document, and thus are extremely useful for review.
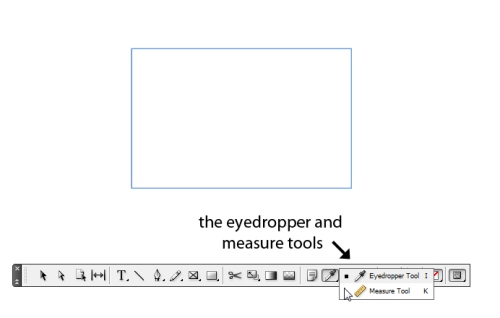
2. The eyedropper tool (hot key: I) will let you select a color and apply the style or color of one object to another. The measure tool, a sub-tool, will let you measure the distance between any two points in the document.
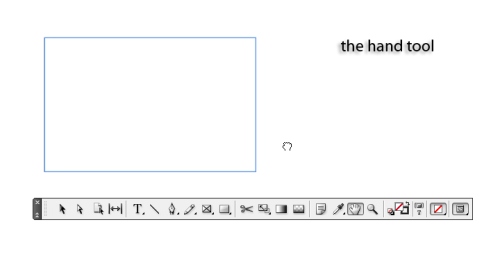
 3. The hand tool (hot key: H) will let you move the document around on your screen without changing any of the elements. You can quickly access the hot key during your work by holding spacebar.
 4. Finally, the last tool on the tools palette is the zoom tool (hot key: Z), which lets you zoom in or out of your document. You can also try using Ctrl+ or Ctrl- to zoom in and out quickly without using the tool.
With these tools you can learn to create fantastic and original pieces for print and web. Taking the time to learn just how each of your InDesign tools works can make a huge difference in your efficiency and enjoyment of the program. InDesign is made especially to be as useful and user-friendly as possible, and getting to know the many different facets of it can be an extreme joy. If you missed the first InDesign tutorial in this two part series then go back and look at it, as it has a great deal of important information as well.

