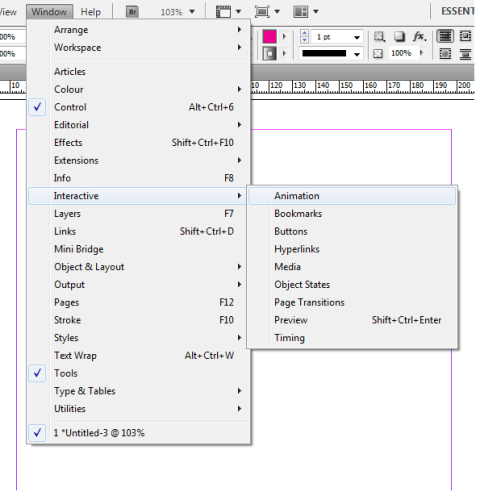
This InDesign CS5 tutorial will walk you through the tools palette. The tools palette is located on the left side of the InDesign window near the top of the screen. Look at the first screenshot for a demonstration.
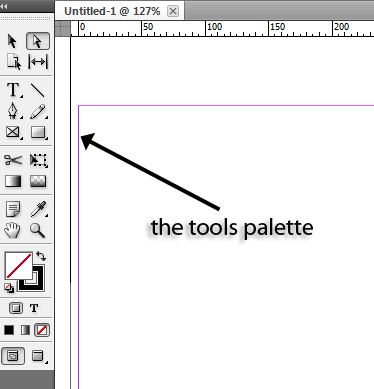
The InDesign tools palette is something that you need to know very clearly and thoroughly if you want to be able to use InDesign to the best of its capabilities. It provides you with nearly all that you need to make your designs and create your layout. Each one of the tools in the palette serves a different function, and if you want to learn what these functions are, then read on.
The tools of the InDesign tool palette have been divided into 4 sections, two of which I will cover below and the other two of which I will cover in the sequel to this InDesign tutorial.
The Selection Tools
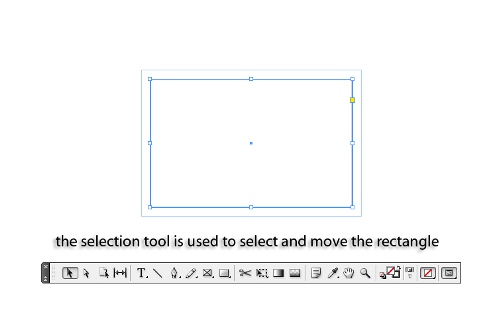
1. The first tool on the tools palette is the selection tool (hot key: V). This is the black pointer. You can use this to drag and move items, as well as to simply select them. You will use this tool more than almost any other.
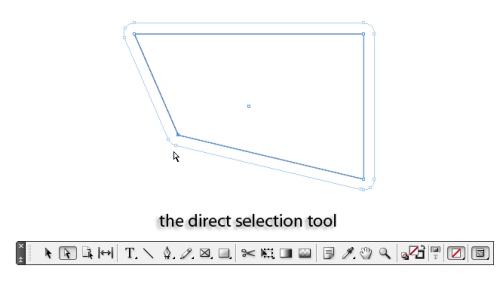
 2. The direct selection tool (hot key: A) is the tool to use when you only want to select one segment of an item instead of the whole. Whereas with the regular selection tool you must select the entire square, you can manipulate a single corner of the square with the direct selection tool.
 3. The page tool (hot key: Shift + P) is a new addition to InDesign CS5 which allows you to select and modify the entire page you are working on. This will let you create documents with pages of various sizes and layouts.
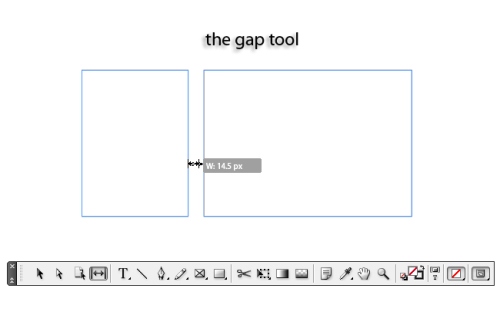
4. The gap tool (hot key: Shift + U) allows you to modify objects while keeping the spacing uniform. The screenshot below demonstrates how two squares can be moved using the gap tool
The Type and Draw Tools
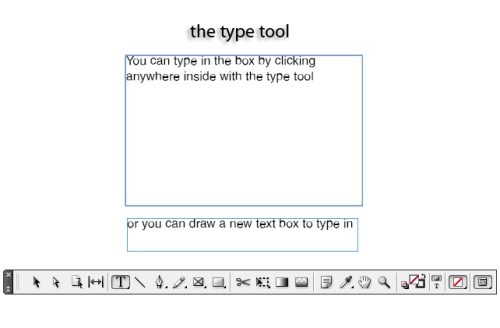
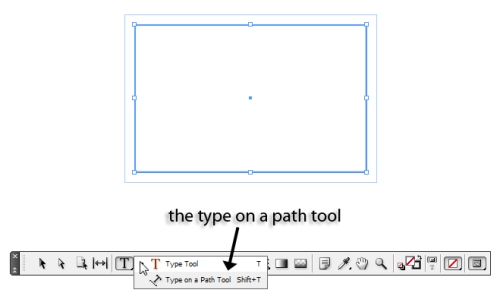
1. The type tool (hot key: T) is one that you will also be using a great deal. This is simply the tool you will use to add and modify type in your designs. There is a sub-tool called the type on a path tool (hot key: Shift + T) which is also useful for interesting type layouts.
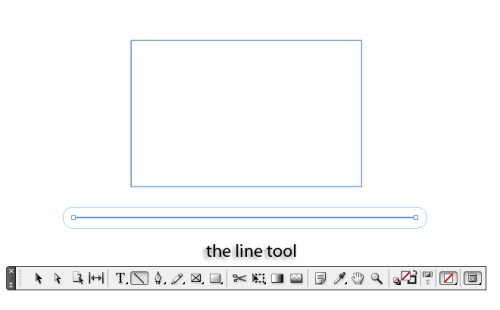
 2. The line tool (hot key: \) is simple, allowing you to draw a straight path in any direction.
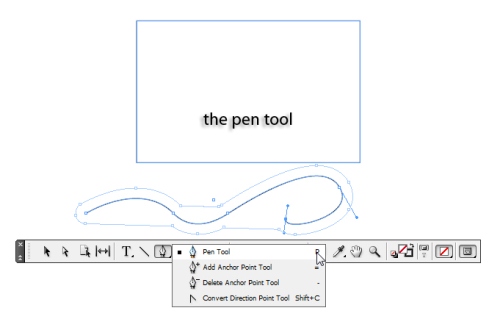
 3. The pen tool (hot key: P) and all its sub-tools will allow you to create and modify paths that curve and connect.
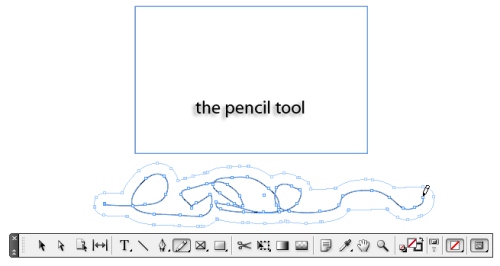
 4. The pencil tool (hot key: N) allows you to draw free-form paths, and its-sub tools let you smooth out and erase the paths you have drawn.
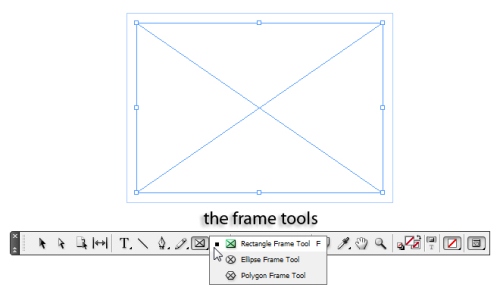
 5. The rectangular frame tool (hot key: F) along with the ellipsis and polygon frame sub-tools will let you draw frames. These frames can either hold graphic or text, and are useful for making placeholders for data you want to import.
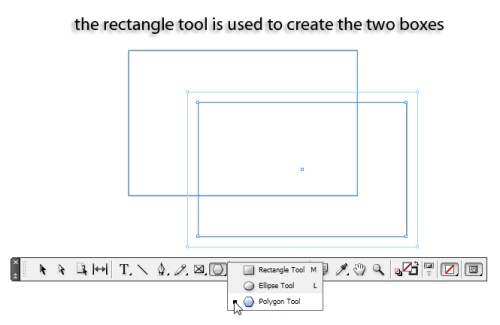
 6. The rectangle tool (hot key: M), the ellipsis tool (hot key: L) and the polygon tool are very similar to the frame tools, except that they are more for creating solid shapes and blocks of color.
 With proper knowledge of these tools (and the tools in the second part of this InDesign tutorial) you will start to know your way around InDesign and understand what it really does. Go on to the second of the InDesign tutorials on the tools palette.

