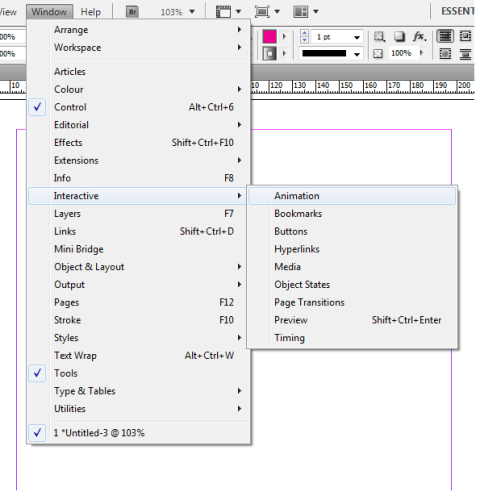
The effects panel is certainly an aspect of InDesign tutorials that you should pay close attention to. Learning give your images and layouts interesting and stylish layer effects is one of the most important parts of working in InDesign, and you almost can’t operate without knowing at least a little on the subject. With that in mind, this InDesign tutorial will show you all the basics of the InDesign Effects panel and how you can put it to good use.
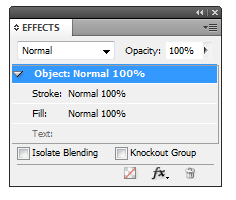 The Effects
Let’s begin by taking a look at all the available effects InDesign provides us with. This basic guide will let you know at least the basics of adding and applying effects to objects, and additional tips will come later in the next section.
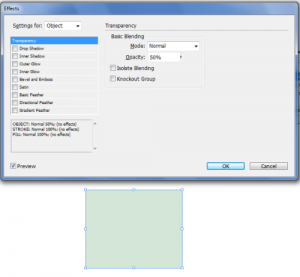
1. Transparency. This option is the one that allows you to modify the opacity of your object. You can adjust the transparency directly from the Effects palette or from the Effects dialog, as shown below.
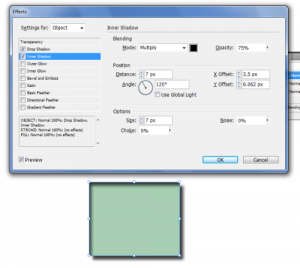
 2. Shadows. There are two shadow features, drop shadow and inner shadow. Drop shadows go outside the object, and inner shadows go on the inside. Modifying the color, mode, opacity, angle position, size, spread, and noise of these shadows will create very different and interesting effects.
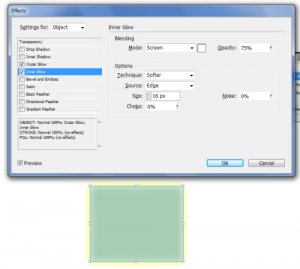
 3. Glows. The outer and inner glows work very much like the shadows (in what options you can edit and the way they work), except that they create a glow instead of a shadow.
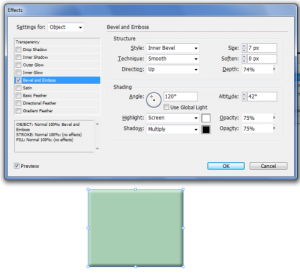
 4. Bevel and Emboss. These options can make your text and objects look like they are carved into the page or embossed out of it. You can edit the style, shape, size, and sharpness of the effect, as well as the types of shadows and highlights that are displayed.
 5. Satin. This allows you to add a color overlay to your image (especially to highlights and shadows), making for some very interesting possibilities.
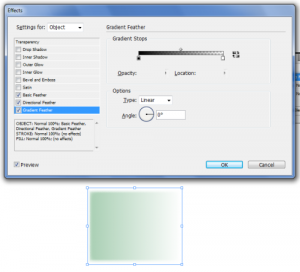
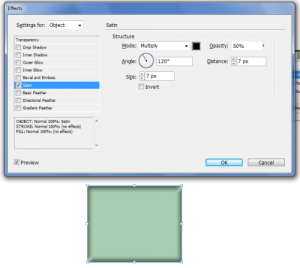 6. Feathers. Feathering allows you to add transparency around the edges of the image. Basic feather is just a simple transparency, while directional feather allows you to focus the feather on certain sides of the object. Gradient feather allows for the application of a feather going from one side to the other (this can also be done with the gradient feather tool).
 Effects Tips
These basics about effects can be very useful, but here are a few tips that can help you in your application of the effects, and help you to save time in your work.
1. You can quickly apply the effects of one object to another by simply dragging the little fx icon by the image in the palette onto the other object.
 2. You can also change the way the effects are applied to the object through simple drag and drop. For instance, if you want just the stroke of an object to be affected, then drag the little icon onto the stroke. If you want it to only effect the fill, then do the same but onto the fill option. If you want everything to be affected, drag it back to the main item.
InDesign effects can change the whole look of your layout, and hopefully this InDesign tutorial has given you some good information that can help get your started on your way to using them properly.

