Pictures are an important part of a good layout or design, and when using InDesign CS5 you will find yourself constantly having to place images in your documents. If you do not know the proper way to do this, then this tutorial will show you. The methods that InDesign CS5 uses to place pictures and illustrations in its documents are extremely practical, but you must first understand them in order to take full advantage of them. This InDesign CS5 tutorial provides you with a comprehensive guide to placing pictures in InDesign.
Placing a Single Image
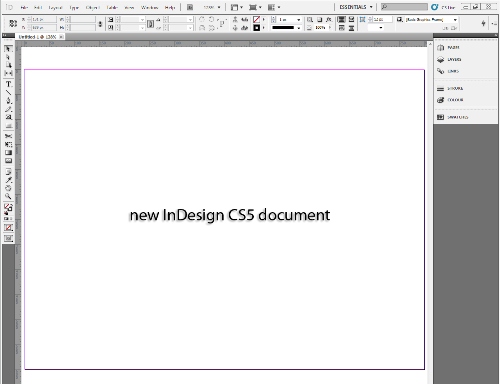
1. Begin by opening your document. For the purpose of this InDesign tutorial, make a new blank document.
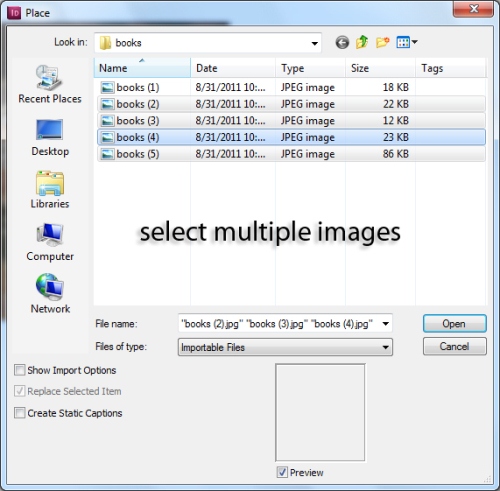
2. Press Ctrl + D to open the window that allows you to place a document. This window can also be accessed by going to File > Place. Select the document you want to place and click open.

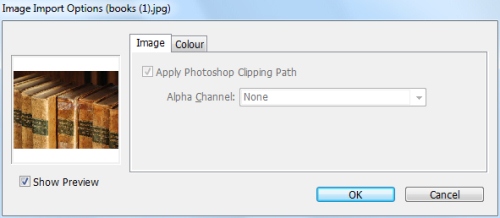
3. If you want, you can have the import option dialog box appear by checking the box that says “Show Import Options” in the previous step. However, you won’t be using this today, so go ahead and click OK.
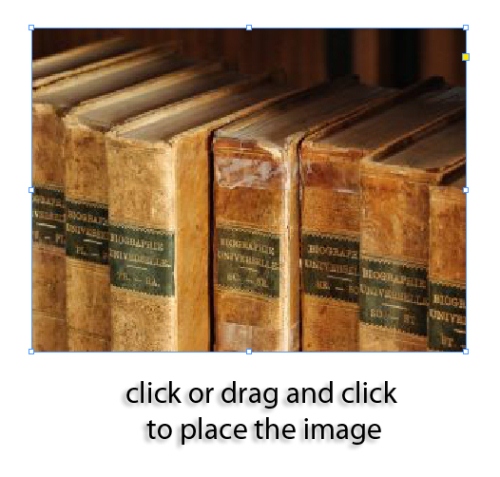
4. Click the screen to simply place the image. You can also click and drag to change the border constraints and therefore the size of the imported image.
Placing Multiple Images at Once
5. You can also place a whole bunch of images at the same time. Press Ctrl + D again, and this time select multiple image to place in the document.
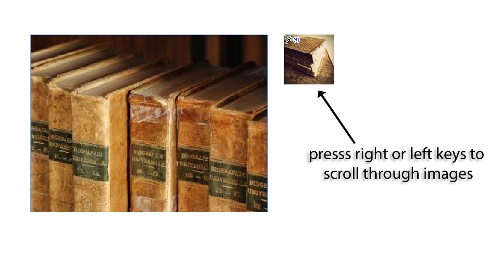
6. You will see that when you have told InDesign to import a picture, your cursor changes and shows a picture to the side of it. This is the picture you are importing, and you can place it by clicking or clicking and dragging. If you want to place a different image than the first one you had selected, then you can scroll through the images with the arrow keys.
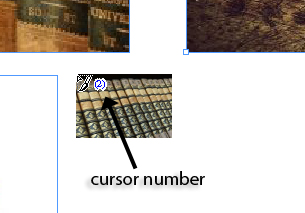
7. When you place each image, you may notice the little number by the cursor. Whereas before it was 4, because I hadn’t placed any of the 4 images in, now it is 2, because 2 have already been placed and there are 2 remaining.
8. Now that all the images have been placed, the place images cursor disappears and I can begin modifying my images

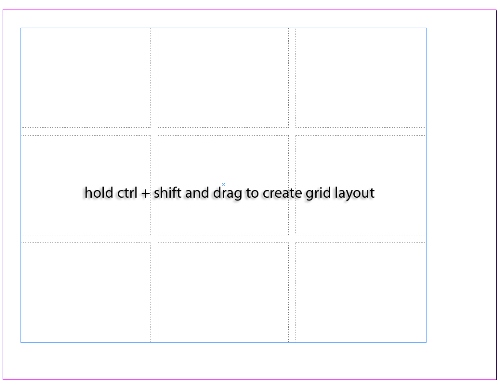
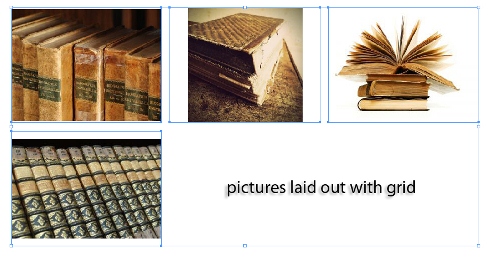
9. If you want to place all the images you have selected at the same time in an organized way, you can do this by holding Ctrl + Shift while clicking and dragging. This will create a grid where each picture will appear. This way will create some organization in your layout, and will work best if each picture is the same size (unlike the ones I show here).
You will definitely use what you learned in this InDesign CS5 tutorial a great deal when you are doing your designs. Importing and placing images is something a graphic designer deals with every day, and if you know how to do it correctly then you will be able to do it more easily and quickly.

