No matter what field you work in, you will most likely need to have a good resume at some point in your life. Whether you are established in your profession or are still looking to start out, a good resume is a weapon that everyone should have in their arsenal. This InDesign tutorial goes into how you can make yourself an extremely professional looking resume with only a little bit of work and forethought.
Outlining Your New Resume
1. It all starts with a blank page. Make a new letter sized document that has good margins on all sides.
 2. The next thing to do is to create guides for your resume. A grid based resume is always better than a “freestyle” one or one that you don’t put much planning into. Go to the Create Guides dialog through the layout menu, and give yourself 4 columns. Fit everything to your margins so that all the columns are equally sized.
 3. Drag one more guide down from the top to create a header area. The lower portion will be for the body, but the upper area is for the title and logo.
 4. Now drag some rectangle frames out to represent all the elements. At the top there should be room for the title (your name), and to the right you will place a personal logo. If you don’t have a logo you can either put a good graphic or image, or else leave it out altogether.
 Placing and Finalizing the Rest of the Info

5. The next thing to do is place all the data in a very basic way. There doesn’t need to be any formatting yet, as long as you get all the elements onto there.
 6. The next thing to do is to start to format the text. I started with the first part of the resume text, which is the first header. This needed to stand out, so I made it a darker and striking font and sized it up a bit. Once I did that, I went on to make a new paragraph style so I could easily apply the format to the rest of the headers. Do the same yourself, changing the first line to how you like it, and then defining a new paragraph style using the Paragraph Styles palette.

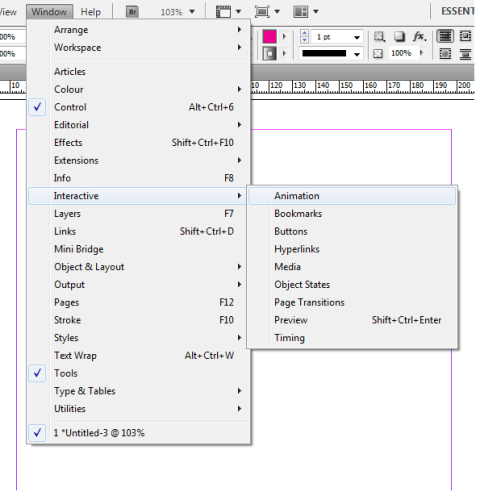
 7. Now do the same for the other header and the body text. I wanted secondary and tertiary headings, so I defined each of those as well with different fonts and sizes. I also made the bullet style and the body text style. Once you have your styles defined you can create new paragraph styles for each of the items in just the same way that you did in the step before. See all the different styles I created in the second screenshot below.

 8. When everything’s applied, the resume looks great. Now all that’s left to do are a few touchups, like reformatting the name at the top and the contact info.
 9. The finished product of this InDesign tutorial should look similar to the below screenshot. If you’re looks different then that’s ok, as long as it looks organized, professional, and stylish.