InDesign is all about practicality, but elegance and style are a large part of it as well. In this InDesign tutorial you will learn how to make a very stylish text reflection in only a few moments. The steps are extremely simple, and with only a few tools and a short time of work you can have something that looks great and is also very practical. Read the following InDesign tutorial to learn more.
Adding the Basic Text
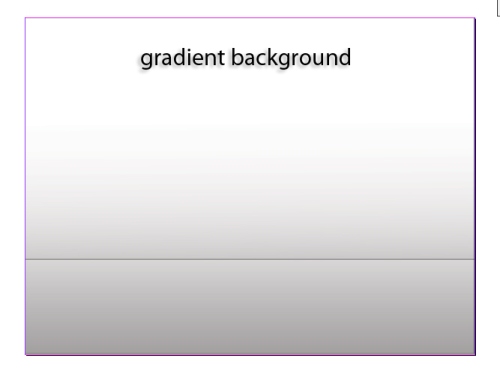
1. I started off the image with a nice gradient background. It’s meant to look like a basic gray surface with a bit of light on top, and this will form a good backdrop for the reflection. All it really is is just two rectangles with different gradients applied to them. If you can’t figure out how to do it, then simply work with a plain white background. It works just as well.
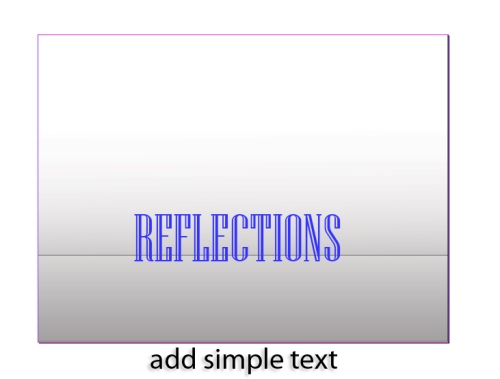
 2. Whatever background you choose, the first thing to do is to add your text. Choose a nice font that will look good reflected. I made mine in blue so that it would be a bit more interesting, and you can do the same if you like. Place it on the edge of the “surface” or at the place where the two rectangles meet, so it looks like it’s hovering just over the top. See the screenshot for an example.
 Starting on the Reflection
3. Next, create a copy of the text, which will become the reflection. A quick way to do this is to hold Alt while you drag with the selection tool. This will make an exact duplicate of the first object which you can drag wherever you want.
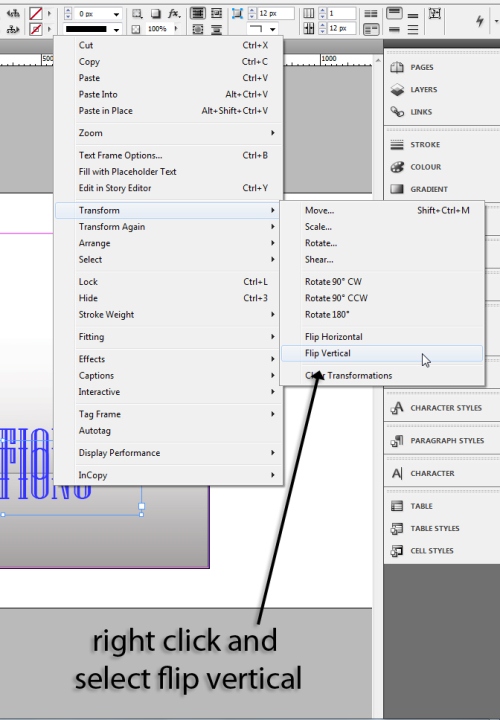
 4. Right click the duplicated text and go to Transform > Flip Vertical, as shown in the picture.
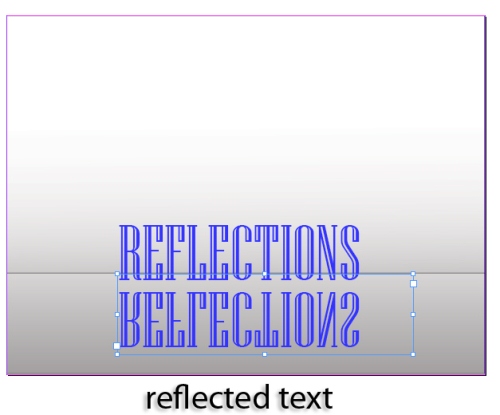
 5. You now have a reflected version of the text. You will probably have to reposition it, so put it about where I have it below, just a little below the first object.
 6. This is where the gradient feather tool comes into play. Select your text with the selection tool, then grab the gradient feather tool (just below the gradient swatch tool). What it does is chooses one color for one side of the gradient and transparency as the other. When you drag in on an object it creates a fading effect, which is just what we want for this reflection. Simply select the correct blue color in the gradient palette, and then drag.
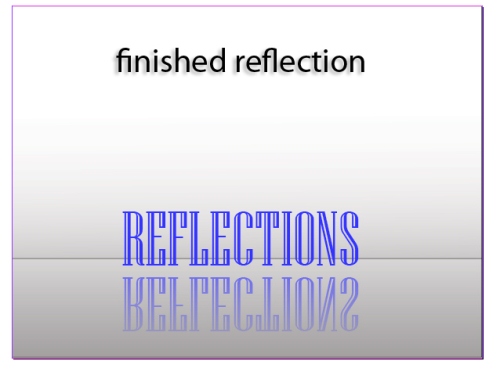
 7. If you did it properly, the text below should seem to be fading to the front, just like a reflection would. You may need to adjust it or do the gradient a few more times to ensure that it looks just right. Once it’s done right, it should look something like the image below.
 This is a very simple process that anyone following this InDesign tutorial is sure to remember. Try this process with other objects you want to reflect, as it can work just as well with shapes, photos, and many other things.

