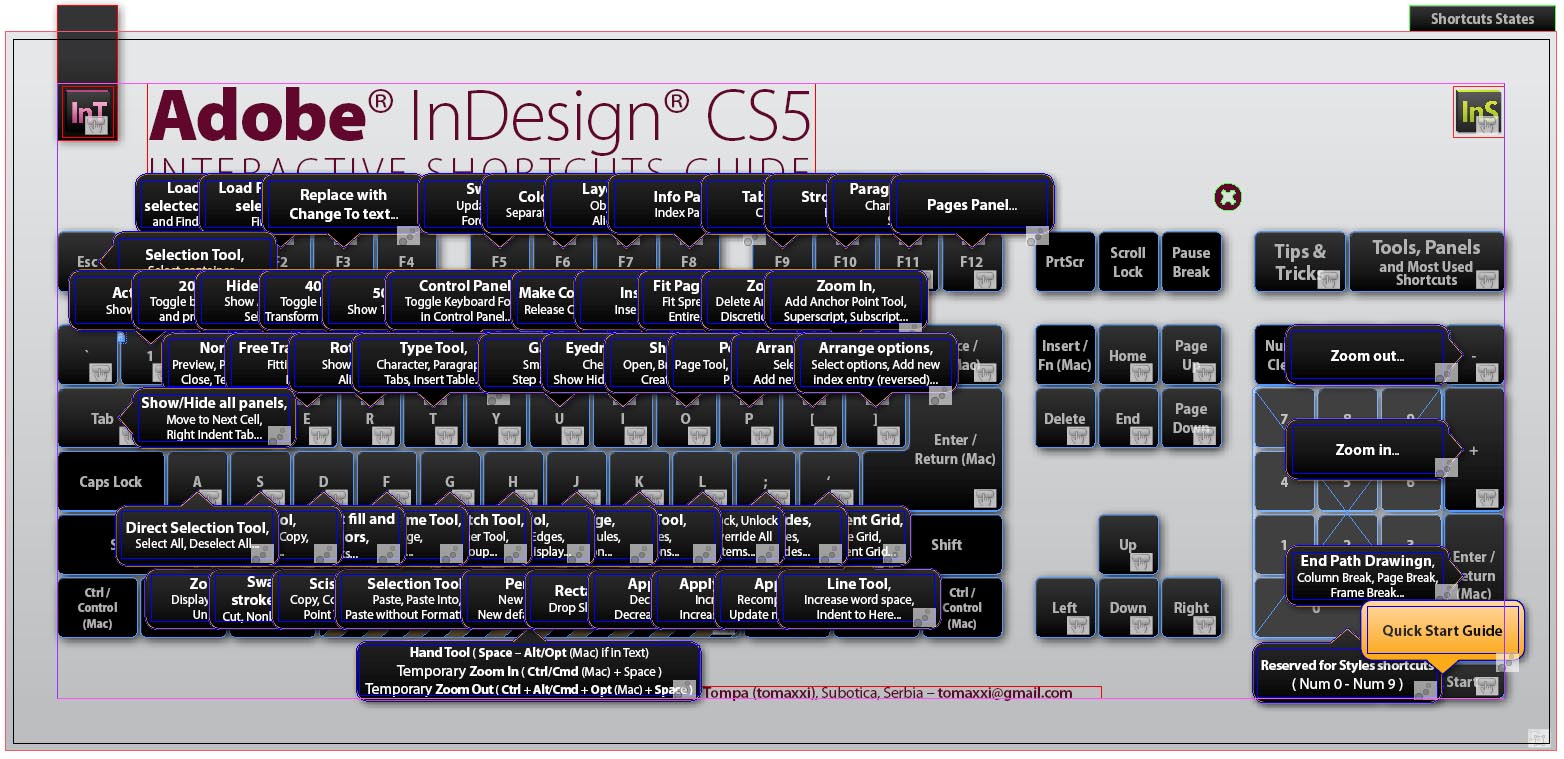
This InDesign tutorial will go into the basic of anchoring objects into your text. InDesign text is very easily format table, making it very simple to modify, resize, and reshape. The problem with this if you don’t know how to anchor objects to your text is that every time you do transform your text, any images or objects you want formatted along with it move about where they aren’t supposed to. That means additional time working re-laying out everything, and that time could add up to hours if you have a big document with many images. This InDesign tutorial will help you to avoid having to do all that work, and show you the tricks involved in anchoring text and objects.
Step 1: Basic Anchoring
Anchoring text is extremely easy if you have learned how to do it. Here are the basic steps.
1. Select the image you want to anchor.
2. Ctrl X to cut it.
3. Use the Type tool to get into your text. Click the spot where you want the object to be anchored.
4. Press Ctrl V to paste the object in place. The object or image is now anchored within the text box to the spot that you want it. No resizing or reformatting will make it go anywhere but that place in the line of text unless you want it to.
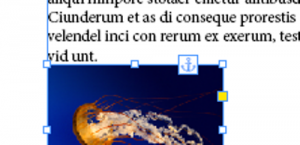
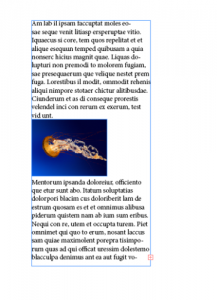 5. Note: You can tell when an object is anchored by the way it shows a small anchor icon.
 Step 2: Tips and Options
Now, once you’ve finally placed the object in the text, it won’t always look right. It may bleed into the text or position itself incorrectly, and this is fine. All you have to do is change the settings to make it right.
1. First of all, you want to open the Anchored Object dialog box. To do this, select the anchored object with the selection tool, go to the Object menu, and select Anchored Object > Options.
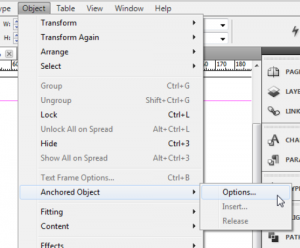 2. This dialog offers many options for anchoring objects, and the first thing to do is to change the option in the Position box from whatever the default is to Custom. Now the object settings can be played with and modified freely.
3. You’ll want to make sure that the Prevent Manual Positioning option is left unchecked. That will allow you to use your selection tool to manipulate the position of the image.
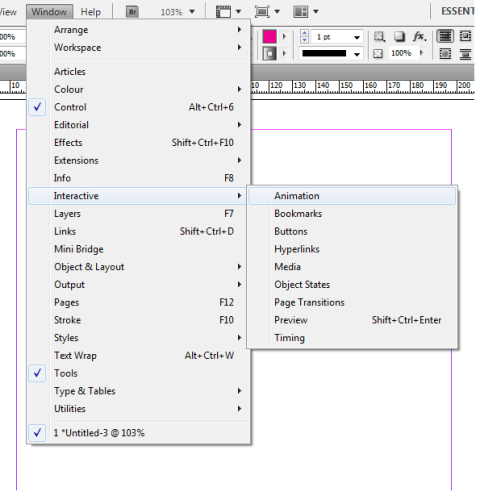
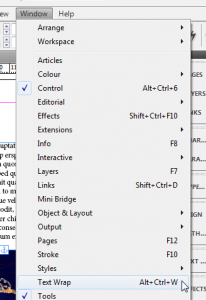
4. Now all you have to do is drag the image into the place you want. You’ll probably have to adjust the text wrap options to make sure that the text flows with the image properly (go to Window > Text Wrap).
 With those few steps you should have a well formatted layout with well anchored images and objects. With what you learned from this InDesign tutorial, you can easily work with other layouts to accomplish the same thing. Knowing how to anchor text into your text can certainly help you to achieve much easier and more stylish text based layouts.

