Adding bullets and numbered lists into your InDesign CS5 documents is extremely easy, as this InDesign tutorial will show you. You will often find that your documents need some sort of bullets or numbers, and knowing how to do it properly can save you a great deal of time. InDesign’s bulleting capabilities are extremely versatile and easy to use, and following this InDesign tutorial can help you to understand them better and know how to put them to use.
Adding and Formatting Bullets
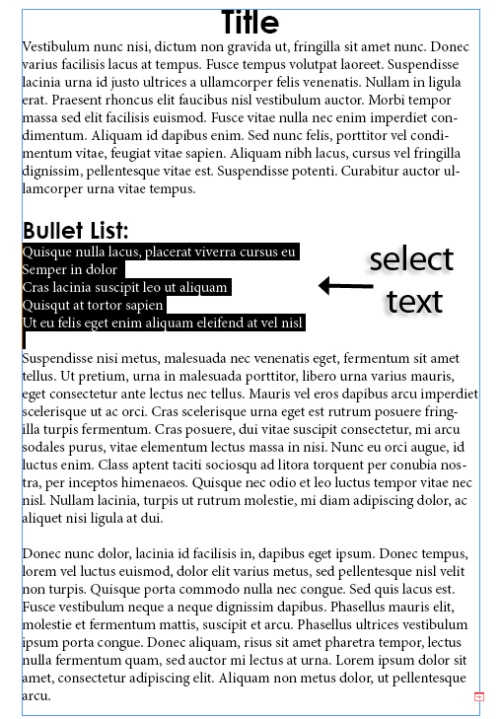
1. Begin by taking your text that you want to add bullet points to. I’m using some randomly generated text, but if you have a document that needs bullet points in mind, use that.
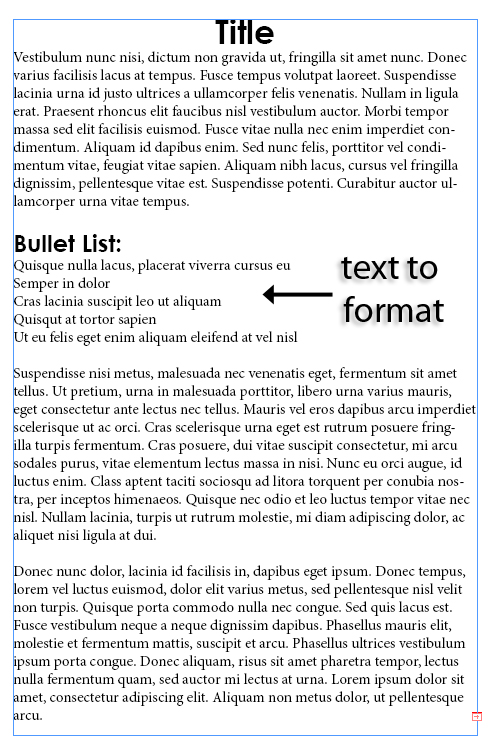 2. Select the text that you want to be bulleted. On the top of the screen under the paragraph options there is a button that will add in bullet points to your text (shown below). Click it for basic bullets.
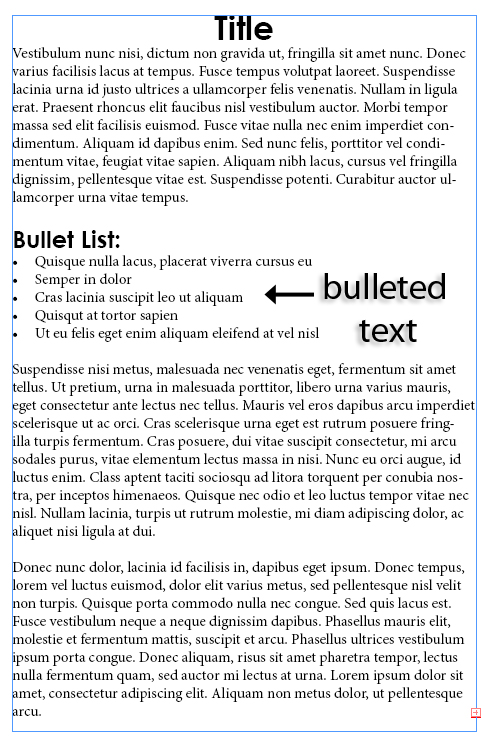
 3. Here you can see that my text has very basic bullets. This is the InDesign default bulleting format, and should show up in your document too. But what if you want a different bullet format?
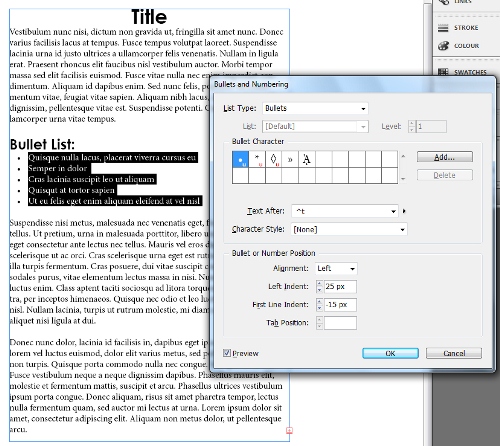
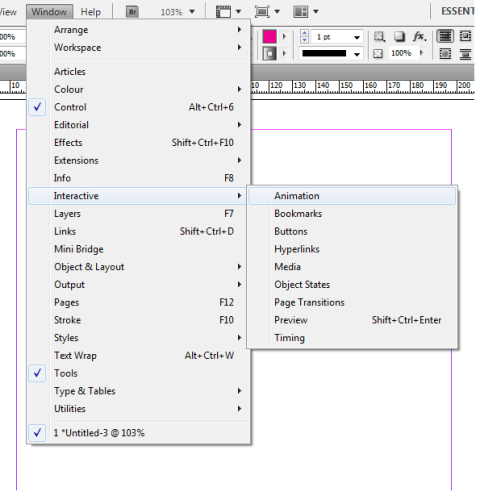
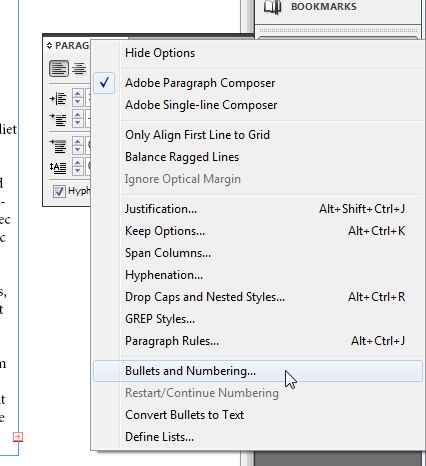
 4. Go to the Bullets and Numbering dialog box, which can be accessed from the paragraph palette.
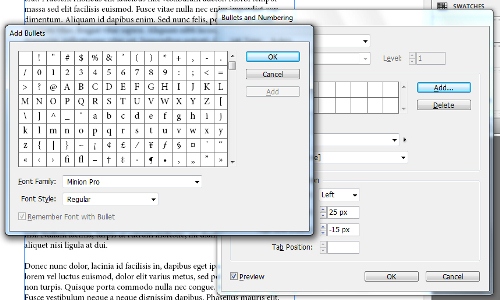
 5. The Bullets and Numbering dialog box will let you format your bullet list nearly however you want. You can change the bullet character, even choosing characters from other typefaces if you feel like it. You can change the position, indentation, and alignment of the bullets and bullet points, and you can even change the character style of the bulleted text. I changed the positioning of the bullet points a bit, but you can change it however you like.
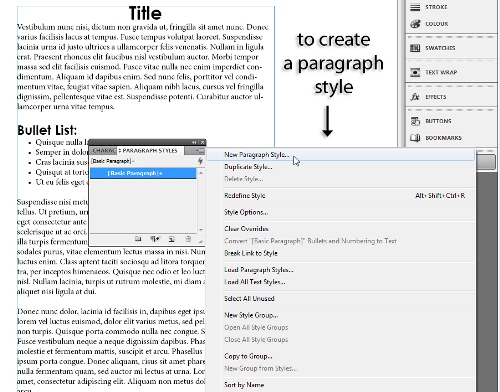
 6. Just so you know how to do it, I’ll show you how to create a paragraph style to save this bulleting format. This comes in handy when you want speed and efficiency and plan to format many bullet lists the same way. Go to the paragraph style palette and click on the top right corner. Click the option New Paragraph Style, which will open up a dialog box. Give your style a memorable name so that you know what it’s for, and press OK. In the future, all you have to do to create an identically formatted bullet list is apply this paragraph style.
 Adding and Formatting a Numbered List
1. To add a numbered list, the process is extremely similar. Create and select an area of text that you want to turn into a numbered list.
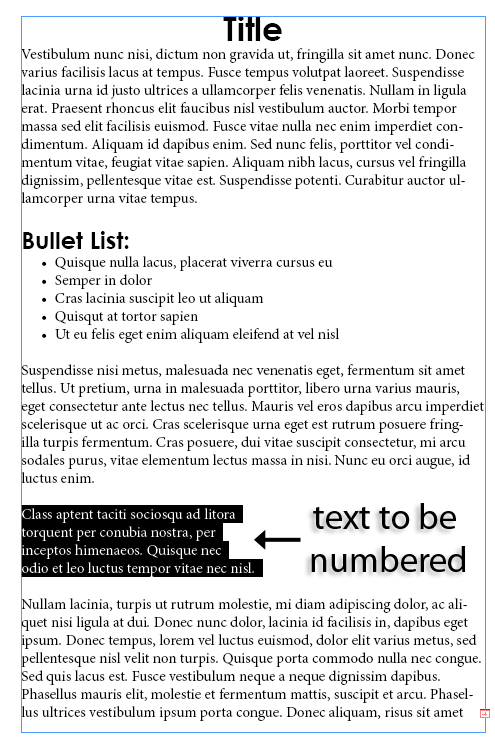 2. Click the option below the bulleting button on the top of the window. This will create numbering.
 3. To modify the numbering go back to the Bullets and Numbering dialog. Once again, you can change the numbering from the defaults to a whole lot of different settings. The Bullets and Numbering box will let you change almost anything pertaining to your bullets and numbers.
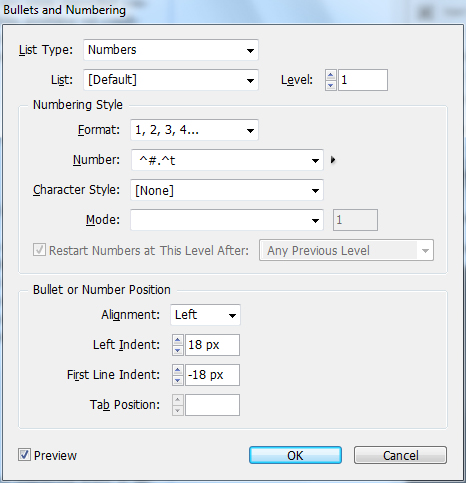 4. I changed the positioning of the numbers to match with my above bullets. The picture below shows my finished document, and your finished document should look somewhat similar. What you learned in this InDesign tutorial will be extremely useful in many of your future layout projects.


