
This InDesign tutorial goes into an extremely useful feature that most of the Creative Suite programs have in common: styling. In InDesign, you can create styles for a number of things, but foremost among these are character and paragraph styles. InDesign deals a whole lot with text, and knowing how to use the style options can save a good graphic designer a great deal of time.
Styling allows you to set a preset for a certain object, character, or paragraph, and then easily apply it to any other object or text that you want. In this InDesign tutorial I’ll show you how to create and apply paragraph and character styles in a quick and efficient way.
Character Styles:
1. Character styling begins with your body of text. I have my text laid out in a very general and basic way, with no formatting or styling applied at all. Get yourself some text to work with and place it in a simple text box.
 2. The first thing to do is to format the title of the text. Select the title and change it however you want, but in such a way that it stands out and is slightly bigger than the body of text.
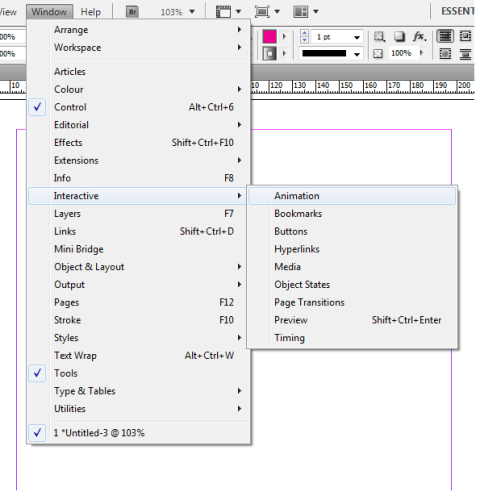
 3. Once you have formatted your text, it’s time to create the new character style. Go to the Character Styles palette (which can be opened from the Window menu) and click the options button in the top right corner. The first option will be New Character Style.
 4. Clicking this will open up the dialog box that will let you define your new character style. You should have the formatted title text selected before you open this box. Name your character style and then press ok.
 5. Now that the new character style is created you can try applying it to another area of text. Here I select my other title, which I want to have formatted just the same as the other one, and I apply the character style. Once the style is applied, it will look exactly like my other title, and all with just the click of a button.
 Paragraph Styles:
6. And on to the paragraph styles. The whole process is very similar, and I’m sure you’ll learn it easily. Now I want my first paragraphs to stand out a bit, so I select one and format it how I like. Do the same with yours.
 7. This time, instead of going to the character style panel like you did the first time, go to the paragraph style panel. Click the options button and choose New Paragraph Style.
 8. Name your style once again, and click OK.
 9. Now you can apply the new paragraph style to your other paragraph and save yourself all the time of formatting, spacing, modifying, and changing the character. The practical functions you learn to perform in this InDesign tutorial will definitely save you a great deal of work and headache, especially when you end up having to format huge books, entire magazines, or other long projects.


Joyce McMillan
I greatly appreciate any help regarding a paragraph style I’m trying to create for a list of business members.
Example: Company Name (bold)
John Doe ………………281-756-3571
1113 Main St., Houston, TX 77511
email address
I know how to set up the Company name in bold as a Character Style but it’s that dotted leader tab. I want it for that line only and when I try setting it up, it adds the dotted line to all the other lines.